The Beginner’s Guide to Reviewing Pull Requests
This blog aims to provide a beginner’s guide to reviewing a pull request. This guide is from the point of view of the reviewer and provides a step-by-step approach for how to review pull requests.
Overview
Before we get into how to review a pull request, let’s first review what a pull request is and what we aim to achieve by reviewing them.
A pull request (PR) is a way for someone to request that changes be taken from one branch and merged into another. Most likely, you will be reviewing a PR between a development branch of some kind and a protected branch such as the main branch. The PR offers the opportunity for code to be inspected to determine if it should (and can) be merged into the target branch.
When reviewing code in a PR, our goal is to ensure the code is of sufficient quality. This will reduce bugs and keep our codebase in good shape. PRs can also facilitate learning, both as the reviewer and as the PR owner. It is important to remember this goal when reviewing a PR.
Step-By-Step Guide
Below is a step-by-step guide on some effective approaches for reviewing a pull request.
Prerequisites
Before you start reviewing a PR, you should first familiarize yourself with the policies around PRs in the team/codebase the PR is in and gain an understanding of the app itself. Some things to do include:
- Make sure you understand the policies for reviewing a PR: who can review, what checks need to pass, and if there are any specific requirements a PR must meet.
- Read the documentation and key parts of the codebase to ensure you have a general understanding of the code and the domain before you review the code.
- Look up the coding standards for the codebase to get a general idea of them, what level of automated testing is required, and if there is any specific style guide.
- Have a local environment set up; make sure you have a good Integrated Development Environment (IDE) for your language, as well as any tools and, if possible, a running local environment for the system you plan to review.
Step 1 - Understand the Overview of the PR
If you have met the prerequisites and identified a PR that you need to review, the first thing you should do is get a general understanding of the PR. What you’re aiming to achieve is an understanding of what the PR is aiming to achieve as well as the general outline of the PR. You may want to follow these steps:
- Read the title.
- Read the description.
- If the PR is linked to a work item, give that a quick read for basic understanding.
- Read the commits, or skim them if it is a PR with many.
- Skim the changes quickly to get an understanding of the volume of changes, the type of changes, and in which files:
- Is it a lot of similar changes, e.g., a rename?
- Are there many complicated changes?
- Is it a very small change?
- Check if it is failing any checks or if there are any checks you will need to look at, e.g., performance test results?
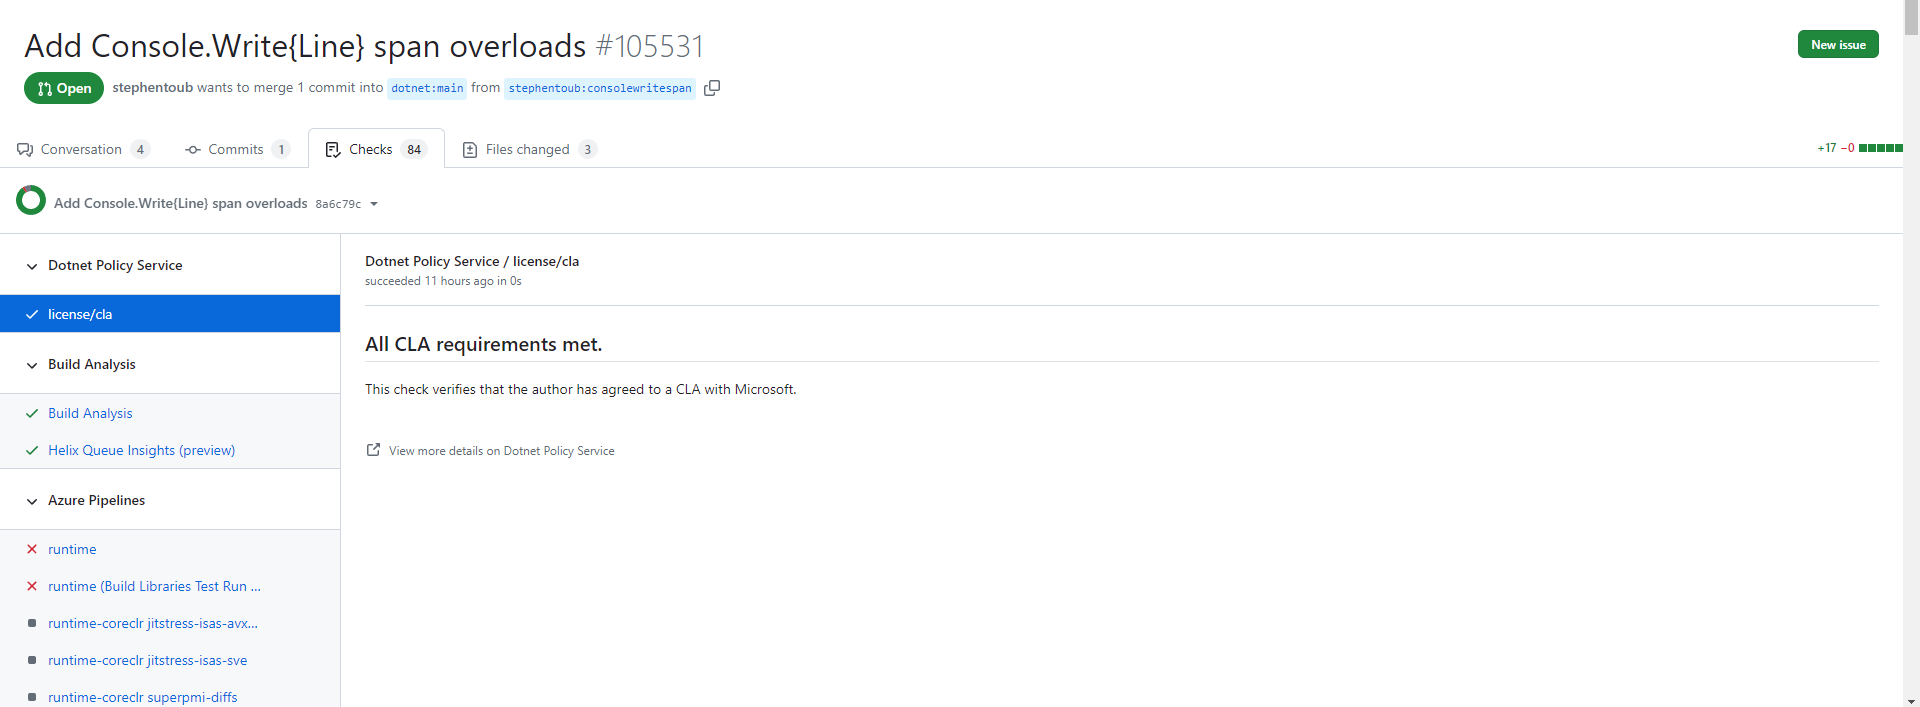
From this, you should be able to gauge the complexity and importance of the PR. This is important for deciding how you approach the rest of the PR.
Step 2 - Review the Code
The next step in reviewing the PR is to look at the changes in more depth and start to formulate opinions and potentially comments. As you go through the code, write notes and draft comments. How deeply you review the code depends on how complicated the PR is:
A Very Small PR

These are typically very small changes, often one-liners or even just a couple of characters. These are usually bug fixes or config changes. With these, you do not typically have to spend a long time understanding the changes, but you will want to consider the following:
- Does the change meet the goal?
- Is it breaking our policies or best practices in some way?
- What knock-on effects will it have?
To answer these, you may want to pull down the code in your local environment and assess what impacts it might have. For some small changes, this may not be necessary. If this change has tests, you can read these to aid your understanding.
Medium PRs
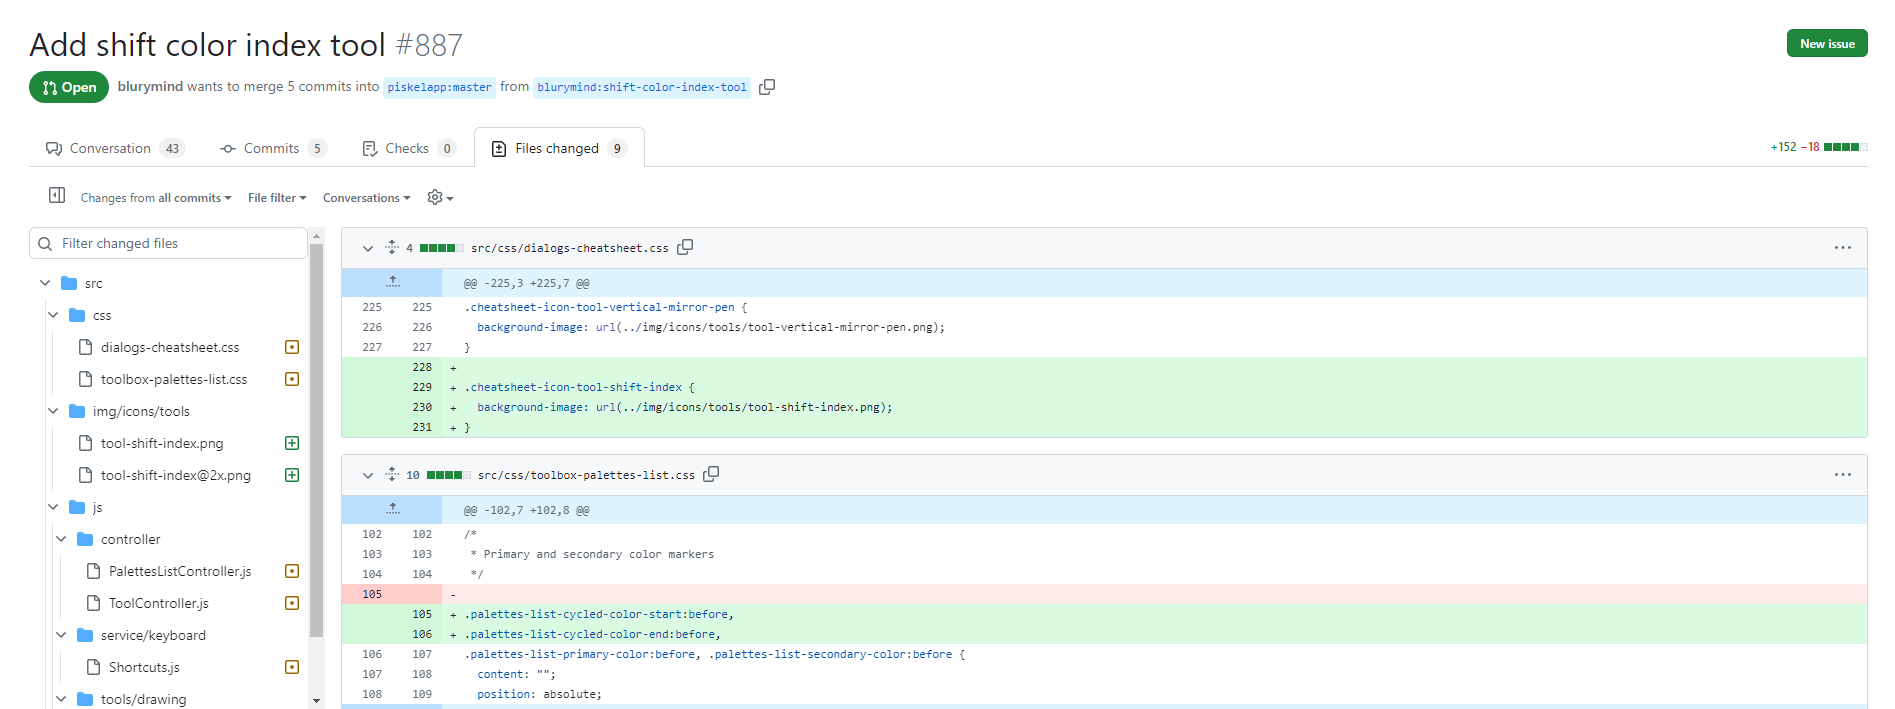
These PRs involve more than trivial changes, usually spanning multiple files. These are typically larger bug fixes or parts of new functionality. With these types of changes, you will want to examine the details and understand the changes. To do this, I would advise the following:
- Pull down the code to your local environment to review.
- Read through the code to ensure you understand it. To help with this, you can use the following techniques:
- Find the entry point or points and follow them (startup files, controllers, event handlers, etc.).
- Read any automated tests; these can help you understand the logic of the changes.
- Use AI to summarize what the code/changes mean.
- Read through the commit messages and look at the changes commit by commit.
- Run the code locally and experiment.
- As you read through the code, take notes on your understanding and the structure. If you notice things that stand out as good, bad, or even if you have questions, also note these down.
- Check the output of automated tooling and run any of your own. Examples include:
- Code smell analyzers
- Automated security checks
- Automated tests
- Linters
If you encounter things you do not understand or need clarification on, it can be a good idea to discuss with the author or another team member.
Large to Very Large PRs
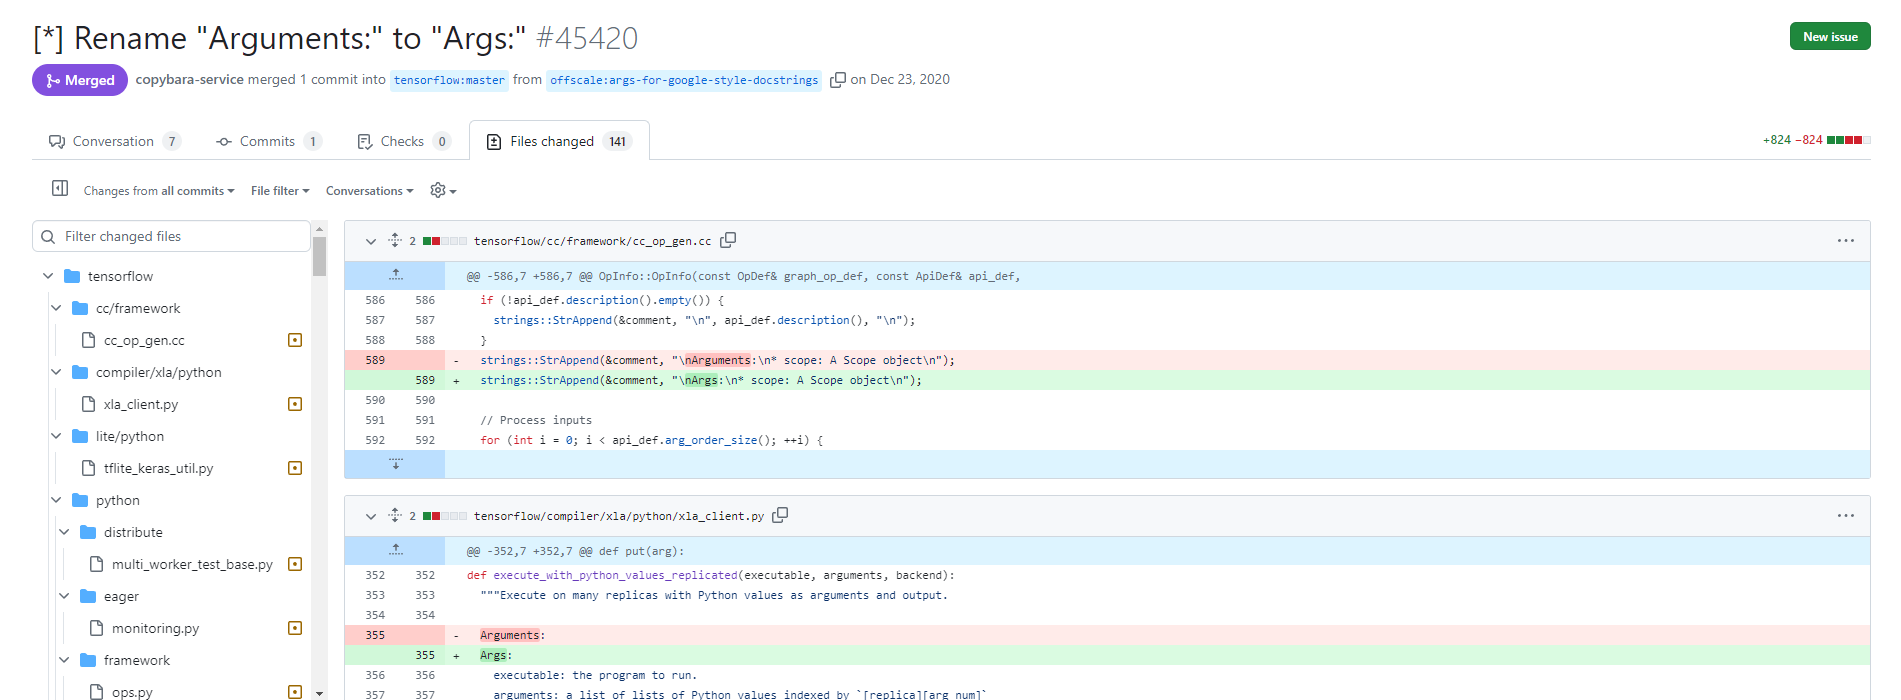
These are PRs that impact a large number of files. Very large examples can affect hundreds to thousands of files. Before you start reviewing these changes, you may want to consider why they are so large. Is this the result of some kind of tool, or is it the merging of several pieces of work that have already been PR’d (e.g., merging a large completed feature)? The answer to this may affect your approach. For example, if a small number of actual changes have been made alongside a sweeping rename, you might request that the PR be split to remove the noise. If this is the merging of a branch with a combination of lots of already-reviewed code, you may want to review it at a higher level rather than delving into the details of code that has already been reviewed.
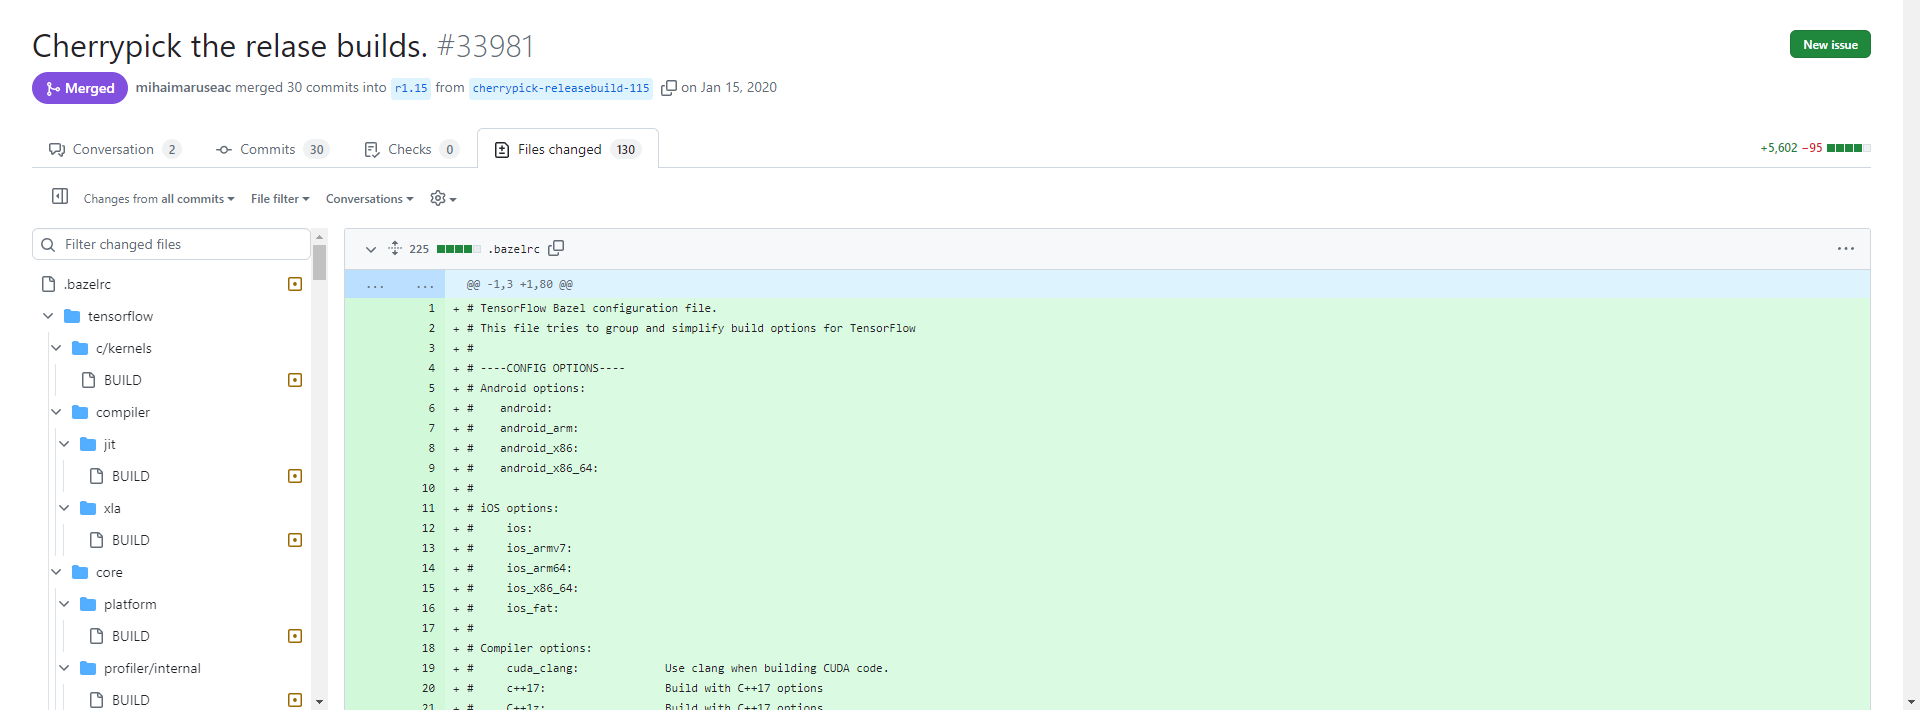
Apart from this, you can use similar techniques as with a medium PR, but you may wish to split particularly large ones into sections and make good notes so you don’t get overwhelmed. You may also want to rely more heavily on tooling and perhaps go through the PR commit by commit to help cut through the noise.
Very large PRs can be very hard to handle but are often the result of merging already-reviewed code or automated changes and thus may need a less in-depth look. Even if they require an in-depth review, the key is to avoid being intimidated and try to split them into bite-sized, understandable pieces. You may also review this PR with another person or as a group.
What Are You Looking For
When reviewing a pull request, there are a few things to look out for, and I generally classify them into tiers:
- The stylistic: These are issues that have no impact on the functioning of the code and include things like spelling and style errors. These are the least important things to find and should be addressed using tools like linters.
- The hard to understand: These are changes that make the code hard to understand. These are important to address as code is read more than it is written.
- The tech debt: These are issues that could cause problems in the future, such as poor code structure and bad practices like hardcoding. These are key issues to identify as they can be very difficult to fix later.
- The wrong: These are issues that will cause bugs, such as logic errors or inefficiencies. These are generally the most important things to notice.
Tips
Design and development principles can help you understand what code is good and why. These include principles like DRY (Don’t Repeat Yourself), coupling/cohesion (principles around how code is connected), and SOLID (a set of design principles for object-oriented programming). There are many such best practices. When applying common best practices or principles, remember that they are more guidelines than hard rules, and there are often trade-offs that result in breaking a principle for a valid reason.
Step 3 - Writing Your Comments
After you have read through the code and written notes and draft comments, it is time to put your thoughts into actionable comments. Read through your draft comments and consider the following:
- Tone: Am I keeping my tone constructive? PRs should be valuable feedback discussions. Remember that you do not want the author to feel attacked.
- Content: There are a few things to consider when writing good comment content:
- Am I being clear about what I want the reader to do with this comment? Is it a suggestion, a question, a requirement? You might consider using something like conventional comments to codify this.
- Have I provided clear context and detail? For example, “this will break” is not particularly useful; “In X scenario, when X happens, it will cause X bug” is much more useful.
- Am I repeating myself? If the same issue has occurred multiple times, you may want to consider one comment to cover all instances.
- Should this comment be a suggestion? Many source control providers, such as GitHub, provide the ability to create suggested changes that can be committed just by pressing a button. Some smaller changes with constrained scope can be handled this way, making the whole process smoother.
- Necessity: Do I need to comment on this? There may be times when a comment is not needed, for example:
- Is it a small, non-gray area issue I could just correct and commit myself, such as a spelling error?
- Is this something that may be better handled as a face-to-face conversation?
- Remember that more comments do not always mean a better review.
Tips
Remember that comments are not just for things that are wrong. They can also be praise, questions, or general observations.
Step 4 - To Approve or Not to Approve
After you have created your comments, you need to decide whether to approve the PR. My general rule of thumb is to approve with suggestions unless there is something that cannot be released to production currently outstanding. I always write a quick summary of my review to give the author an idea of my general thoughts on the changeset.
Step 5 - Continue the Conversation
After you have finished writing your comments and submitting the review, it does not end there. If you have requested changes, asked questions, or made suggestions, you may need to check back to see if they have been addressed or to see the answers to these comments and then reply in turn. You may also want to discuss changes either via the UI or in person.
Some Other Tips for Reviewing
Here are some other assorted tips for reviewing code. These can help you be more efficient and provide more targeted feedback.
Tools
Tools are your friend when reviewing. Even if your team does not have tools built-in, you can still use them locally. Some good types of tools for reviewing code are:
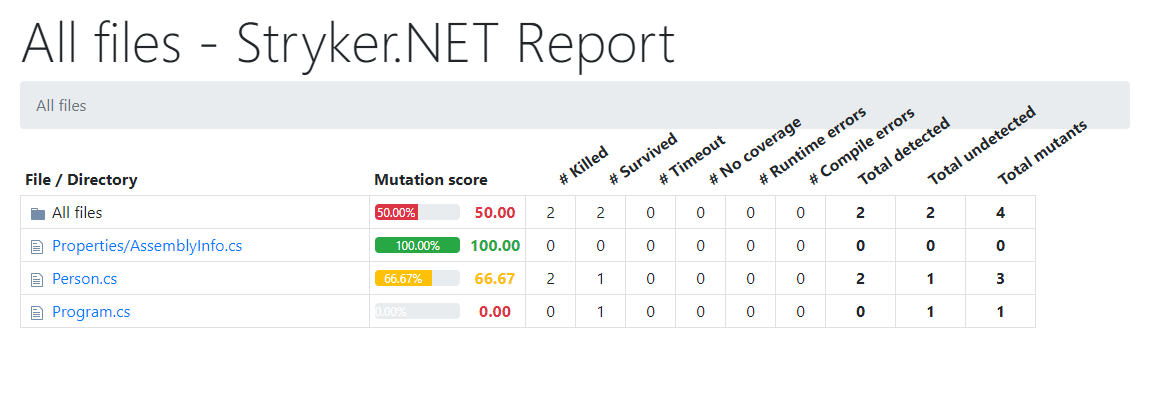
- Testing tools, such as code coverage or mutation testing tools.
- Code smell tools, used for finding common code issues.
- Security scanners, used to find common issues and vulnerabilities.
- AI, which can be used to summarize and even give its own views on code quality.
- Linters, which can pick up most stylistic errors and many reliability errors.
It’s a Conversation
Remember that reviewing is a constructive conversation. Try to avoid becoming too attached to your comments and always be ready to have a chat and consider the author’s or another team member’s point of view.
Conclusion
When you first come to review code, it can be a daunting task, as giving feedback nearly always is. It can also be a fun and rewarding experience, helping you grow as a developer and build relationships within a team. Always remember that the PR process is there to improve your work and make your lives easier, and if it isn’t, it may be time for some changes.